
The best Vegan Fried Chick’n is the one that’s made with Oyster Mushrooms. Perfectly crispy outer crust and a meaty juicy center, for when you need that perfect comfort food indulgence.
Vegan | Gluten-free | Soy-free

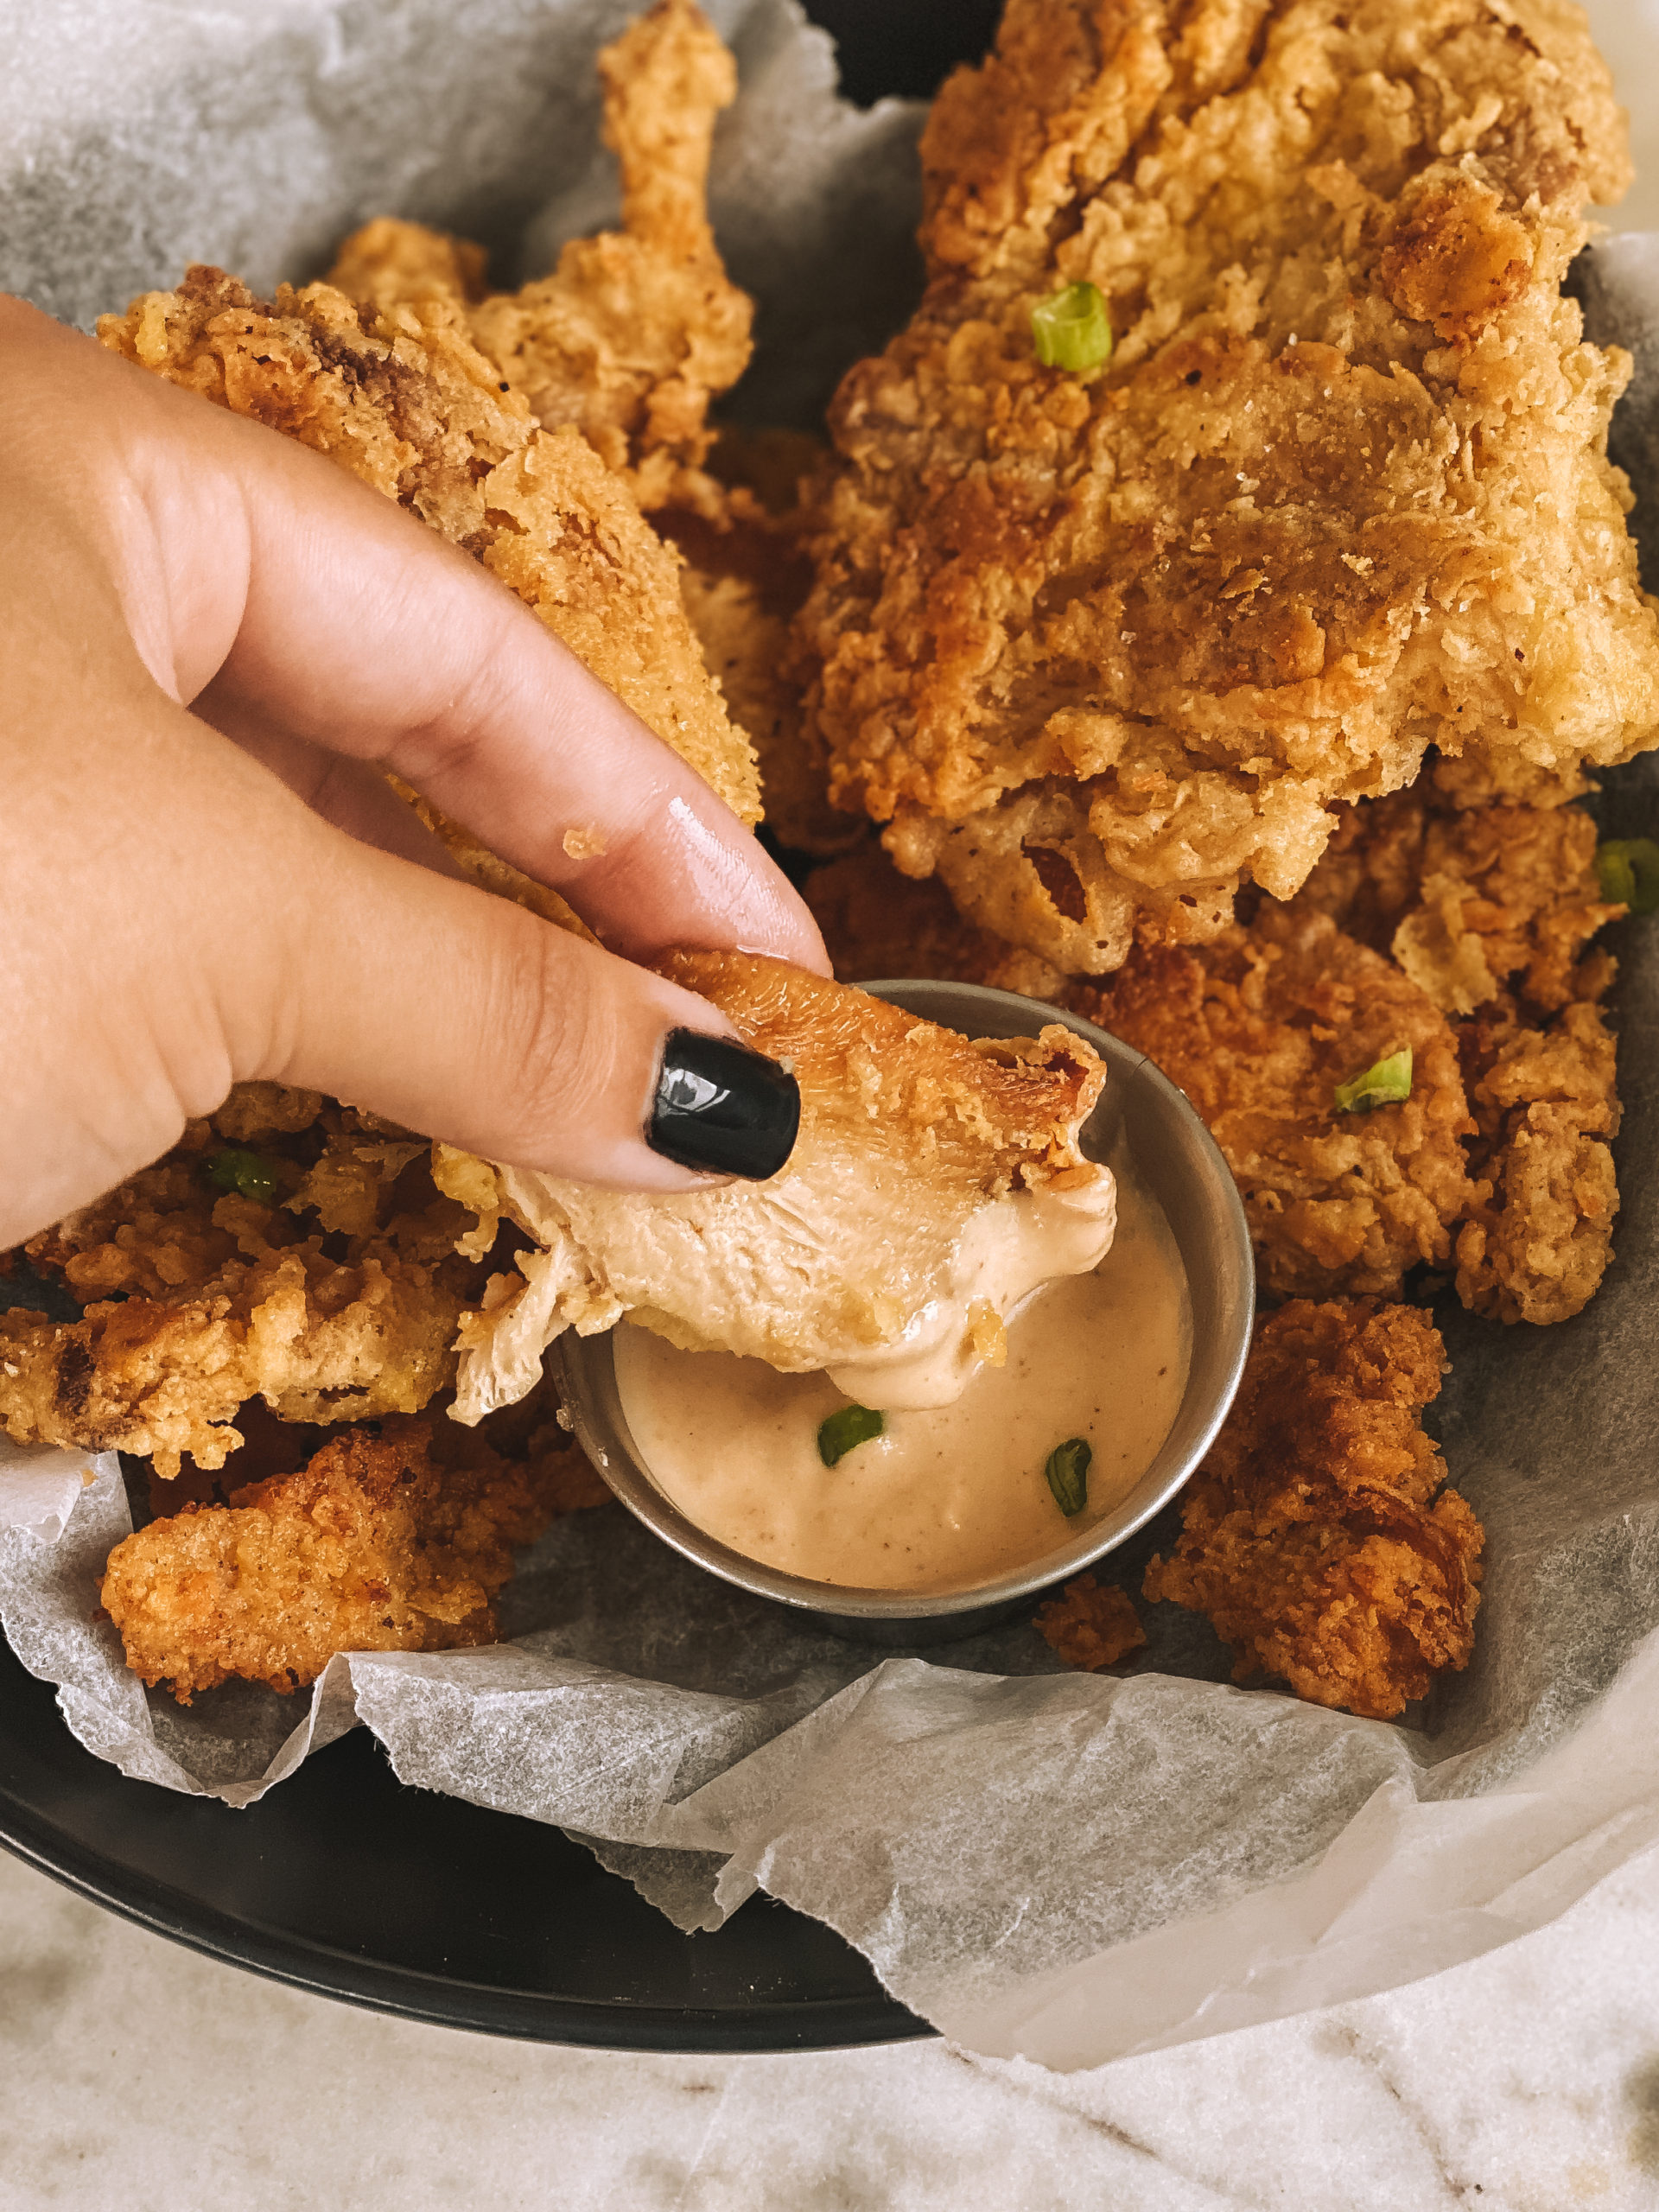
Today we’re honoring National Fried Chicken Day with a recipe that I’ve been dying to make for months! This is truly one of the tastiest dishes that exists in vegan gastronomy: Oyster Mushroom Fried Chick’n.
The breaded mushrooms dipped in a vegan garlic aioli, are a delicious snack, side or main dish that combine amazing texture with intense flavor. These end up being so similar to KFC and Church’s Chicken that hopefully they’ll convince you to finally go vegan!

Oyster Mushrooms
Mushrooms in general are a rich source of fiber, protein, and antioxidants. According to Harvard School of Public Health, they may also mitigate the risk of developing serious health conditions, such as Alzheimer’s, heart disease, cancer, and diabetes. I LOVE them, and find them to be the perfect plan-based meaty ingredient to add to dishes.
But oyster mushrooms specifically have the perfect texture to replicate chicken in this dish. They’re easy to handle, but incredibly difficult to find here in Puerto Rico. If you live near an Asian market, you might be in luck; if not, you might want to contact your local Fungiculturist (mushroom grower) or you can easily grow them yourself.


The Recipe: Pure Comfort Food
Oyster Mushroom Fried Chick’n is a very easy dish that you can prepare with few ingredients that, aside from the oyster mushrooms, you probably have everything else at hand. I know what you’re thinking, do they really taste like chicken? I know it’s crazy but it’s 100% true! Because of the resulting texture along with the seasonings, these really taste like fried chicken.


The batter is made from a combination of home-made cashew cream, pickle brine, sriracha, apple cider vinegar, along with herbs and spices. And the coating is made with chickpea flour, corn starch, baking powder and gluten-free panko. Completely vegan, gluten & soy free!

You can either fry them, bake them or air-fry them, but I’m going to be honest, fried will yield the best results. When done, you can serve the Oyster Mushroom Fried Chick’n as an appetizer with homemade garlic aioli, as a side or main dish.
I can guarantee that the end result will be delicious!

Serving Suggestions
- As an appetizer with your favorite dipping sauce
- Go classic with some mashed potatoes, gravy and biscuits
- Alongside roasted potatoes
- With some tacos, like my caesar salad tacos
Alternate Cooking Instructions
- Baked: Preheat oven to 375°F. Once all the mushrooms are coated, place in a paper lined baking tray, generously spray them with avocado oil (or any other high smoke point oil). Cook them for 30 minutes; flip half way and respray with oil if needed to ensure they are cooking properly.
- Air-fried: Set air fryer to 400°F. Once all the coated mushrooms are in the basket, generously spray them with avocado oil (or any other high smoke point oil). Cook them in increments of 5 minutes for 15 minutes. Every 5 minutes flip them and lightly spray any pieces that still have visible dry flour to ensure they are cooking properly. Repeat if you have to do this in batches.

Notes
- For better tasting results, separate the mushroom cluster into smaller pieces before coating and frying.
- This recipe is made gluten-free by using chickpea flour and gluten-free panko. If you don’t care for gluten-free recipes, you can use regular all-purpose flour and vegan panko.
- Speaking of panko, many gluten-free panko are not vegan-friendly, so make sure to read the ingredients beforehand. This is the gluten-free panko that I recommend,
- Be careful to not overcook as mushrooms can start losing moisture and sogging up the batter. Ideally cook 3-4 minutes on each side.
- Leftovers? Store in an air-tight container in the refrigerator for up to 5 days. I find that the best way to reheat them is to lightly air-fry them for a couple of minutes; alternatively, you can lo-broil them on each side for about 3 minutes.
Batter: Coating:
Ingredients
Procedure


Did you make this recipe? I would love to know how it turned out for you! Tag me in your Instagram creations for a chance to be featured in my insta stories! Use @veggiejeva and the hashtag #veggiejevaskitchen.
When you leave feedback it helps me improve and grow, leave me a comment below!
If you have Pinterest, you can find me here and Pin the following picture, if you like!

All images & content are protected. Please do not use my images or content prior to permission. If you want to republish this blog post, please link back to this post. Thank you for supporting VeggieJeva!
Disclosure: This post may contain affiliate links, which means that I may make a small commission if you decide to purchase something through one of my links. It’s important to mention that I will never recommend anything that I don’t use myself or strongly believe in. Don’t worry, you get the same price! This will help pay for web hosting, email delivery, domain registration, and other various fees that help keep VeggieJeva operational. I appreciate your support!


2 comments
Puedo usar los hongos si están secos? O solo se puede fresh?
Hola! Deberían de ser fresh, ya que al rehidratar los secos puede pasar una de dos cosas: 1. hacer que el aceita salpique y es un riesgo a quemaduras, o 2. aguar la textura del batter. La alternativa sería: rehidratarlos, cocinarlos al sartén para remover el exceso de agua, y luego hacer el proceso de coating y freir 🙆♀️
Comments are closed.